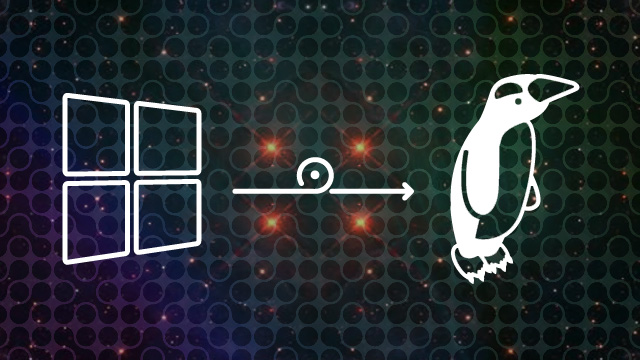
In Part 1 of this series, I explained how I slowly shifted based from proprietary solutions to open source solutions for various types of tools that I was using. In Part 2, I gave an overview of the paradigm shifts necessary to mentally prepare ourselves to switch from Windows to Linux. In this third and final part, I will walk through some rough sketch steps and my personal experience and tips of the big shift from Windows to Linux, which completed my switch from pirated proprietary software to open source solutions once and for all.
Step 1: Where to install
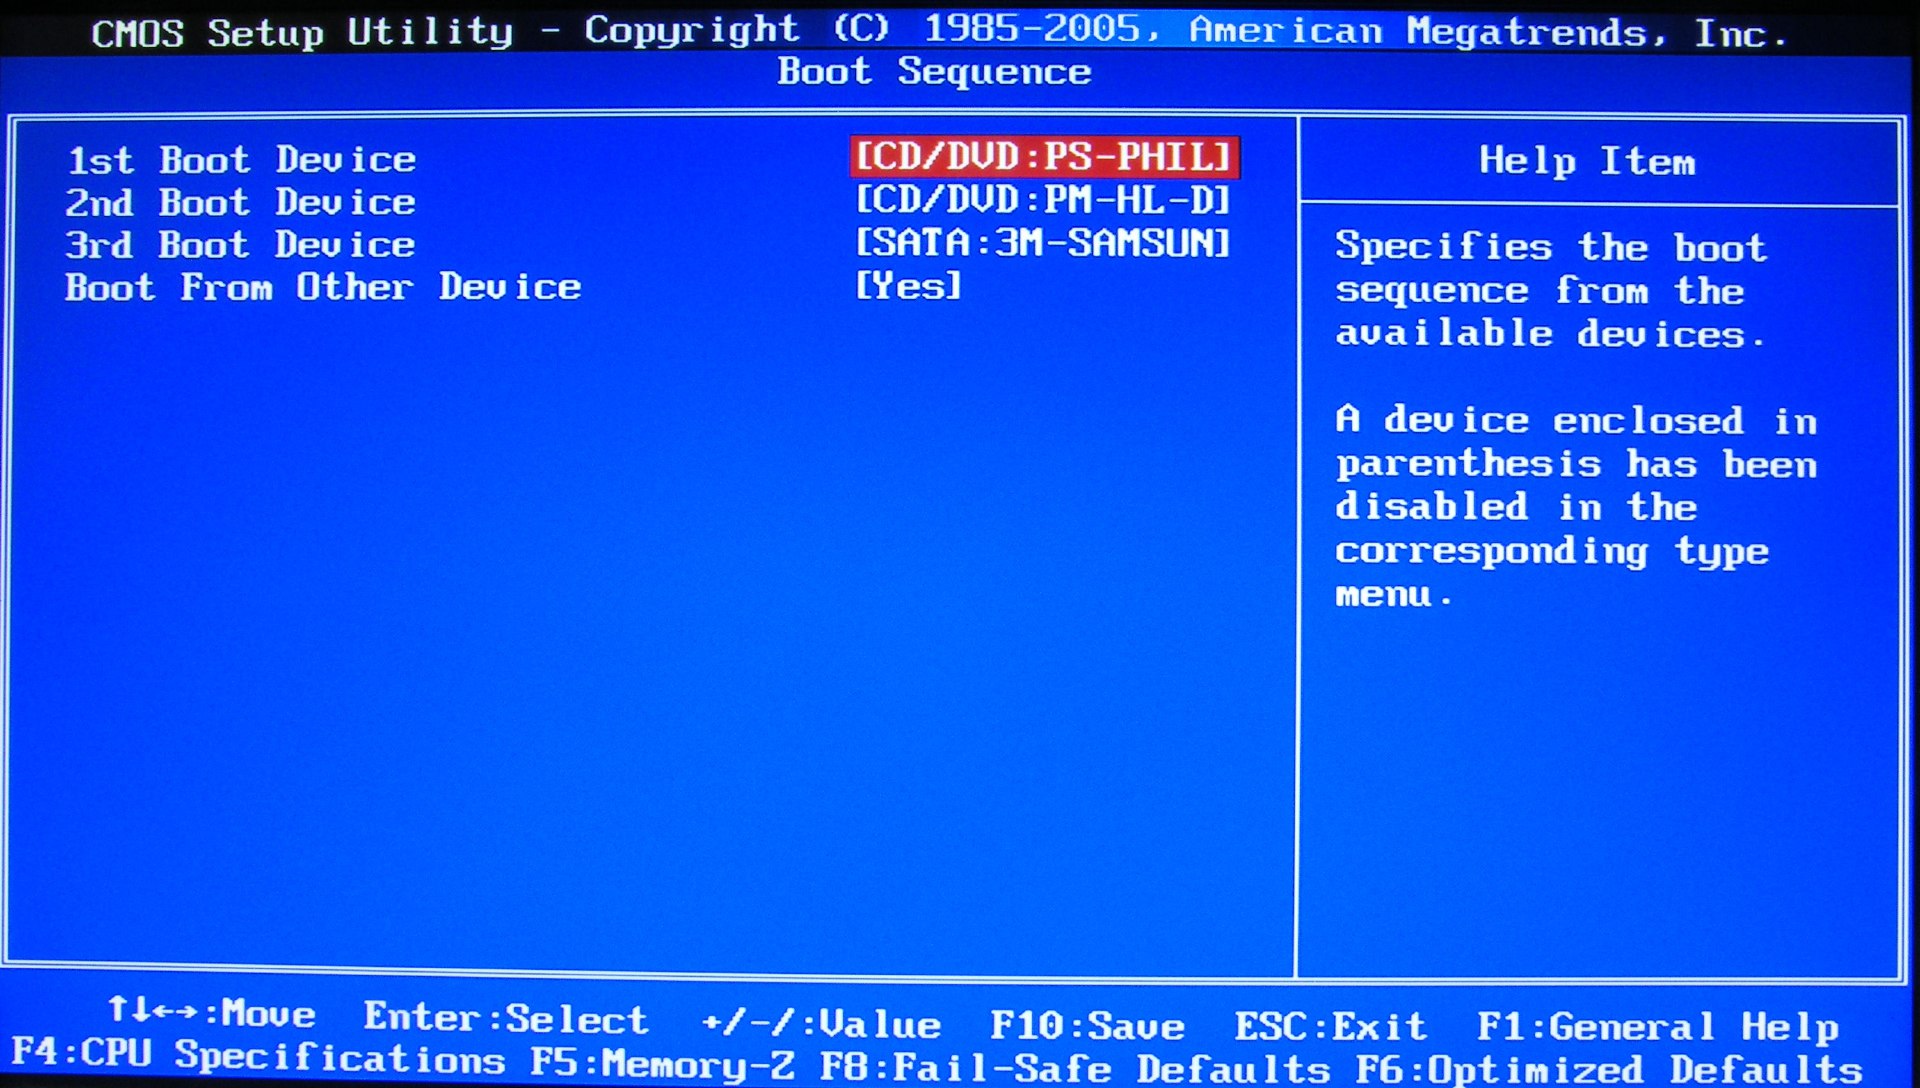
First and foremost, we need to decide where we want to install Linux. We can do so on the same hard disk as Windows or on a seperate hard disk. I chose a seperate hard disk and decided to use the BIOS boot options to switch between Windows and Linux. However, you can also install both on the same hard disk, in which case, the boot screen (called GRUB) will create a menu for you to choose from. If so, please take a complete backup of all the data on the C: partition of Windows and be prepared for re-installs. In my personal experience, the two OSes have never played well together on the same hard disk. Experts may disagree, but I wanted a guaranteed safe way to keep all my installs without having to go through hours of re-installs. If using my method, you should know how to change the boot options in your BIOS. To get into the BIOS, we use either DEL on F2 key on the computer as soon as the screen powers on. The key to be pressed will be indicated at the bottom of your screen. Once in the BIOS, we can go to Advanced Settings and change something called the ‘boot order’. This decides which hard disk the computer uses to load the OS. A nice tip here is to buy hard disks from different manufacturers so as not to get confused. E.g. Seagate for Windows and Hitachi for Linux. The make of the hard disk shows up on the BIOS and having different makes helps save the time spent in figuring out which hard disk is which.
Here is the screenshot of an example BIOS setting. Settings may change from computer to computer and it is worth patiently and intentionally spending the time to learn about how your own BIOS works.
Step 2: Preparing the installation media
Once I plugged in the second hard disk on my free SATA port, it was time for me to prepare the installation media. When I installed Linux in 2003, the most viable media was using a installation DVD. Typically we need to download an ISO file (the size can go upto 4 GB for a full featured distro) of the latest version of the distro of our choice (Kubuntu in my case). The ISO can be burned onto a DVD by using a tool such as Nero. But lately we can create a bootable thumb drive instead of a DVD. Thumb drives are scratch proof and typically contain a small version of the distro itself that can be tried out by the user before deciding if the distro is indeed a right fit for the user. In later versions of Kubuntu, I did try out the distro from the thumb drive first, before deciding to install it over my existing distro. Another use of using a thumb drive is that if the thumb drive is sufficiently large, say 16 or 32GB, you can forgo installing Linux on the hard disk and use the thumb drive version anywhere you go. All your documents will be stored on that drive and it will be like your personal copy of Linux-on-the-go that you can carry with you and attach to any desktop computer and boot from it. Of course, 32GB is not good enough to store every piece of digital property that you own, especially if you have movies, photos and songs lying around and it is better to install on a dedicated hard disk.
Step 3: Starting the install
Okay, so you have a seperate hard disk to install Linux on and an installation media (say a thumb drive) that contains the version of Kubuntu that you want to install. It is time to hit the BIOS again. You should ensure that the BIOS is set to boot from an external media like thumb drive / portable hard disk or DVD, failing which your computer will boot into your regular Windows hard disk and you will be left scratching your chin!
Step 4: Partitioning
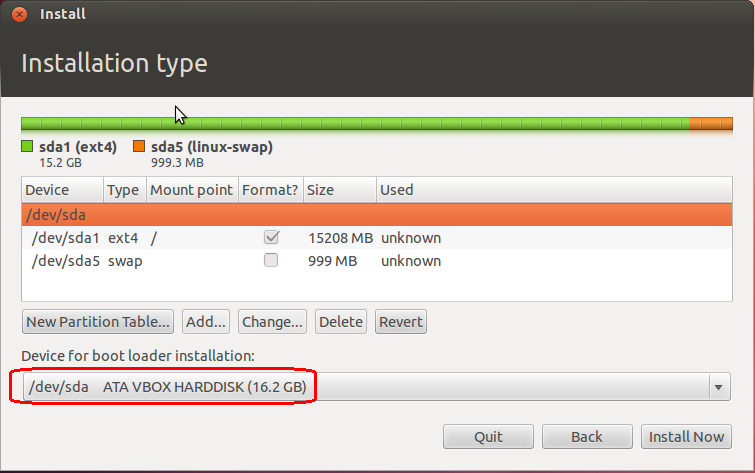
After booting from the install media, you will see a series of screens depending on the distro chosen. But finally you will be led to a screen that asks you how you want to partition your hard disk. For a raw beginner, I would cut all the complication and just make one partition called the root partition ‘/’. However as one learns and gets more comfortable with Linux, a future install should create seperate partitions for different important folders such as /, /boot, /var, /etc, /home, etc. Do not worry about them if you do not understand at the moment. It is okay to create one single / partition for the entire system, just like it is okay to create one large C: partition in Windows, instead of C:, D: and the like. The idea of creating partitions is to isolate different types of data into different protected zones so that any disaster to one partition will keep other partitions unaffected.
Here I show a partition screen, where a basic ‘/’ partition and a special partition named swap is created. The swap partition is used to offload the contents of your RAM memory temporarily to be re-loaded later. This is useful when the computer is particularly busy, running a lot of applications.
Step 5: Selecting Settings
Just like Windows installation, you will be led through a series of screens asking you to set the time zone, keyboard layout, language, region, desire username and password, etc and that should be a cakewalk.
Step 6: Waiting for the installation to complete
A progress bar will indicate how much is complete and how much time is left for the installation to complete. Eventually, you should see a success screen with a message that instructs you to remove all external media such as installation DVDs or thumb drives and reboot the computer.
Step 6: Booting for the first time
The first time boot can appear slow since Linux creates the files and settings necessary to start up the KDE desktop environment. Eventually, you will be led to your new open source desktop and the feeling of liberation and triumph is something to be soaked in 🙂
Step 7: Installing software
Kubuntu is already fairly featured, with LibreOffice already installed out of the box. However you will want to install the full suite of software that will make your computer productive. Some of the first steps will be Google Chrome instead of the built-in Firefox (if you prefer Chrome) and VLC player for movies and music. It is worth spending some time experimenting with how to install software using Muon or Synaptic. It is in fact advisable to learn the apt-get command as well, that can be used to install software using the command line. There are some really good tutorials all over the Internet and using Google search can go a long way in teaching you the nitty gritties of using Kubuntu every day.
One thing to note is that for installing software, Kubuntu will keep asking for the admin (root) user password or the super user password. Please keep in mind that user that you entered during the installation automatically becomes the super user and the password of that user expected.
Step 8: Kaizan, the art of continuous learning
It is never easy to shift from one operating system to another, but with deliberate practice and a genuine interest and commitment to go the open source way, one can master the use of desktop Linux. The Japanese principle of Kaizan is a very good guidepost for the way one approaches learning desktop Linux, one step at a time until we are ultra-comfortable.
Conclusion
And that concludes my 3-part series on how I worked my way from piracy of proprietary solutions to the joy and freedom of open source solutions. I am certain that if I could do it, then you certainly have it in you to bridge the gap. And I cannot wait for you to share your switching experience with me in the comments.