
BHIM stands for BHarat Interface for Money. It is an app that uses the Indian government initiated UPI (Uniform Payment Interface) to transfer money between two bank accounts in real time. The Indian government’s arm named NPCI (National Payments Corporation of India) is responsible for the development and maintenance of UPI and BHIM.
What is UPI?
Money transfer technology within each bank used to be tailor-made and proprietary, making it complex and time-consuming to transfer money from someone’s account in bank A to another’s account in bank B, with the process taking 3 days a decade ago. With improving technology it was reduced to 24, then 12 and then 4 hours. But with UPI, all banks got a common technology to implement as a standard way to interact. Money is now transferred in real time. The transfer of money is like sending an email or an instant message. The receiver’s party has a virtual payment address (VPA) that looks like an email address, e.g. abha@icici or bharat@sbi. Sending money to someone is just like sending a message to a VPA. Banks provide the facility for their account holders to create a VPA of their choice. Each VPA is tied to exactly one bank account and money is automatically received in that account.
What is BHIM?
BHIM is an app that allows two parties to transfer money according to the following rules.
- It is necessary for both the sender and the receiver to have a mobile phone and a savings / current bank account and to link their bank accounts with their respective phone numbers. Without linking the bank accounts with the phone numbers, BHIM cannot trace and use the bank accounts for transferring money.
- The phone number appended with @upi is the virtual payment address, e.g. 9123491234@upi.
- The maximum amount that can be transferred in one transaction is ₹ 10000 and the maximum per day (a 24-hour period) is ₹ 20000.
BHIM is made with small vendors in mind. This includes vendors like small town grocery stores, tea stalls, food stalls and others who are almost exclusively using cash and frequently run into change and cash handling problems. By simply giving out their phone numbers or generating a QR code to stick on their stall counters / walls, they make it easy for a cashless transaction to happen.
Installing BHIM
BHIM can be installed from here.
Configuring BHIM
To use BHIM, it needs to be configured. Here is what needs to be configured.
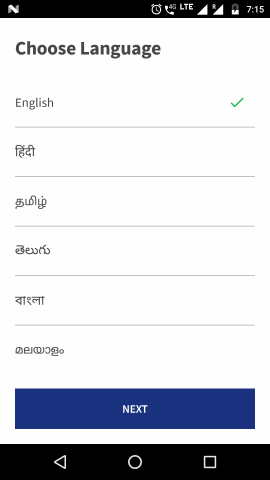
- Choose your language: You can choose English or one of the supported Indian languages on the opening screen.
- Allow access to certain features of your phone: At the very least, you need to allow access to send SMS and manage phone calls. BHIM is an Internet-free app that depends on automated telecom features behind the scenes. The initial registration needs Internet, but payments do not. You can choose whether to allow BHIM access to your location and other features.
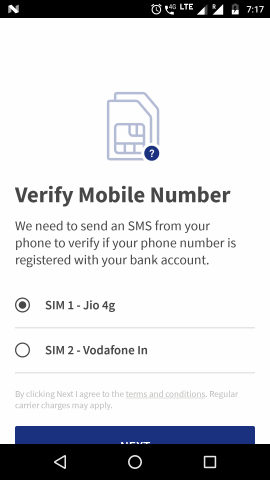
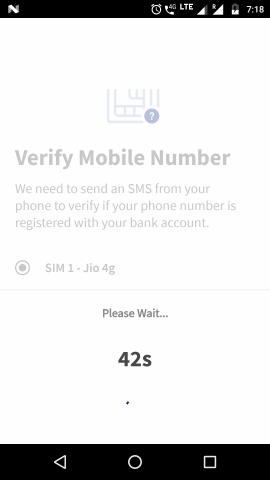
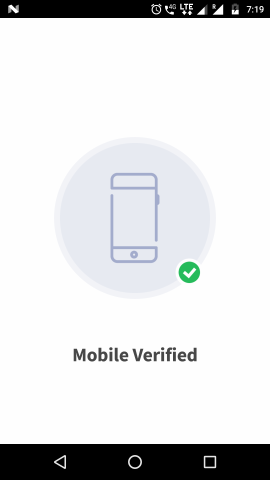
- Verify your mobile number: BHIM validates that your phone indeed hosts the mobile number you claim to have. If your phone has two SIMs, BHIM asks which SIM you want to use.
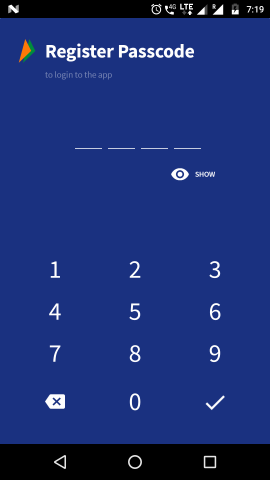
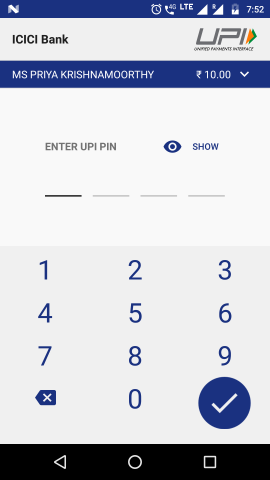
- Register and confirm passcode: BHIM uses a 4-digit PIN to authenticate you from time to time. For instance, PIN is required just before you initiate a payment. Also, BHIM asks you to enter the PIN everytime the app comes to the foreground after having been pushed to the background. At the time of the initial registration of the passcode, you need to enter it twice to confirm it. Thereafter you need to enter it only once whenever BHIM needs to authenticate you.
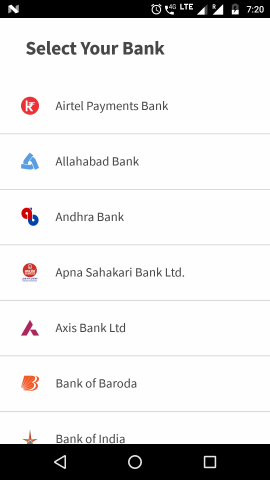
- Select a bank: You should select the bank that you prefer to use for transactions.
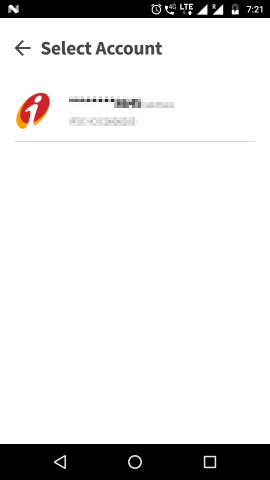
- Select an account: This turns to be the most difficult step for BHIM. A bank account is automatically shown to you based on the following criteria.
- You have a savings / current account with the bank
- Your mobile number is registered and linked with the savings / current account that you hold in the bank.
If you opened your bank account after having obtained your mobile phone, then chances are that you already have your mobile phone number linked with the account. If you have registered for net banking and get OTPs (One Time Passwords) on your mobile number for purchases, then your mobile number is already linked with the bank account. However, the biggest problem is for veterans who opened their accounts before the advent of net banking and mobile phones. If you have an account from the 1980s, 1990s or early 2000s, then there is a high chance that you haven’t visited your bank to link you mobile number with your account. You will need to do so.
Once the steps above are complete, you are ready to use BHIM. Here is a screen-by-screen sequence of the configuration process in BHIM app.
|
|
|
|
|
|
|
|
|
|
|
|
|
|


BHIM home screen
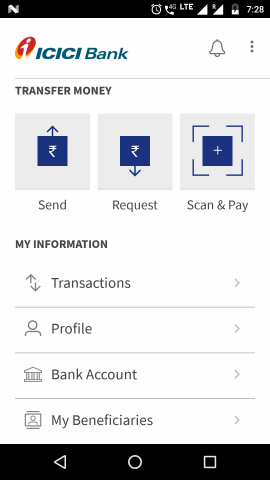
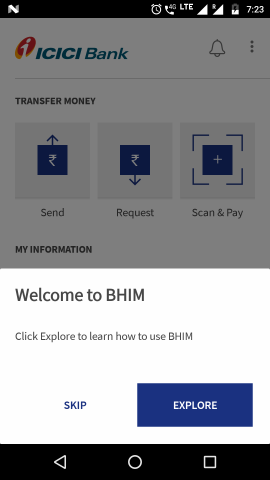
Here’s what the home screen of BHIM looks like.
- Send option allows you to send money to a phone number, another UPI ID, Aadhar number or a bank account identified by account number and the bank’s IFSC code.
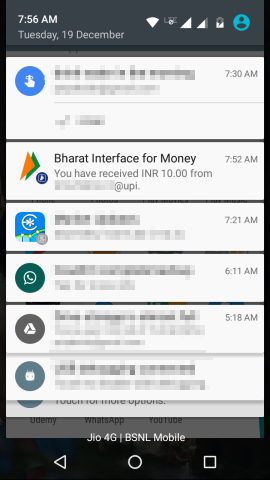
- Request option allows BHIM to send another phone number a gentle reminder to pay past dues. The other phone is notified in two ways: a push notification on the BHIM app if the app is installed and via SMS.
- Scan & Pay allows you to scan a QR code of a payee instead of typing numbers. Thereafter the steps to complete payment are the same as the Send option.
- Transactions shows the past payments and receipts through the BHIM app.
- Bank account shows you the information about your currently linked bank account and allows you to switch to another bank account which is associated with the same phone number. E.g. You may want to stop using ICICI bank account and switch to your SBI account if that is where your salaries are being receiving from now on. Remember that your SBI account must also be linked to your phone number.
- My Beneficiaries allows you to add UPI IDs, Aadhar numbers and account details of persons to whom you usually pay. This allows you to select from a list of beneficiaries rather than typing the details every time.
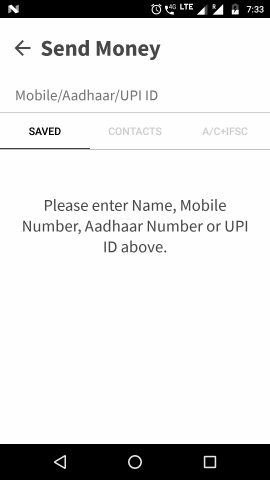
Sending money
Money can be sent from the bank account configured on BHIM to another target bank account. The target bank account can be identified in one of the following ways.
- A mobile number. That person should have linked his/her mobile number with his/her savings / current bank account and registered on BHIM.
- A virtual payment address (aka UPI ID): BHIM can transfer money to UPI IDs other than those registered through BHIM. This is usually via UPI enabled apps other than BHIM, e.g. apps released by different banks, PhonePe, etc. These IDs look similar to email addresses, e.g. abha.sharma@icici or bharat.ramanathan@unionbank. IDs registered via BHIM itself are of the format: <mobile number>@upi, e.g. 9123491234@upi.
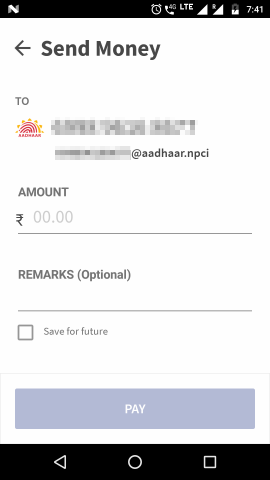
- An Aadhar number: Savings accounts linked with Aadhar numbers can also be beneficiaries. The twelve digit Aadhar number can be entered.
- Account number and bank IFSC code: UPI can also use the old method used by NEFT. Using the account number and IFSC code, you do not need to know the phone number or the Aadhar number of the beneficiary.
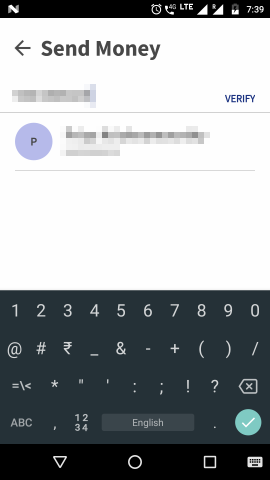
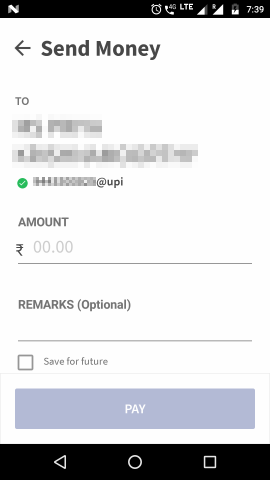
Instead of typing numbers, you can also allow BHIM to access your contact list and choose phone numbers. If that phone number is registered on BHIM, payment can be done. Before initiating the transaction, BHIM is able to track the name of the person behind the phone number, so that you can be sure that you are transferring to the right person. Such verification is also done when paying to an account number and IFSC. No such verification is done for paying to an Aadhar number and you need to double-check.
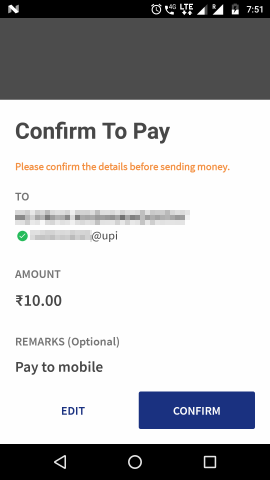
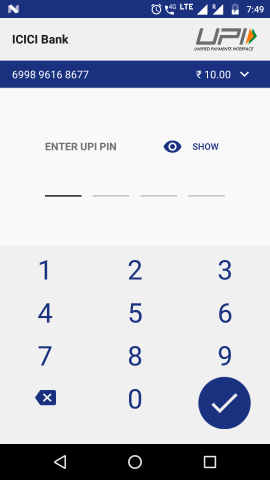
After asking for the PIN to confirm, the transfer is completed in real time. Instead of typing phone numbers, account details or Aadhar number, BHIM also has the option of scanning a QR code to pay. The QR code encodes information about the payee’s UPI ID. After scanning, the details of the payee are shown for your reference, so that you can be sure that you are transferring to the right person.
Here are two flows that show a payment to a phone number and another one to an Aadhar number.
The first one shows a flow with a payee identified by mobile number.
|
|
|
|
|
|
|
|
|
|
|


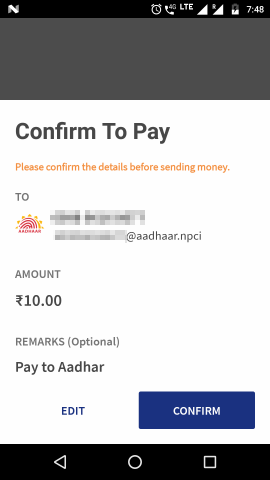
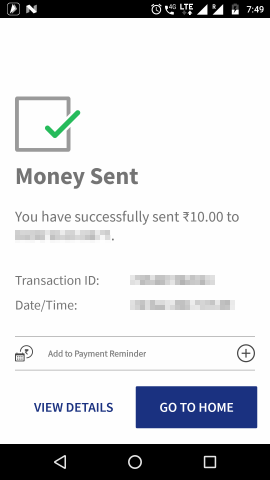
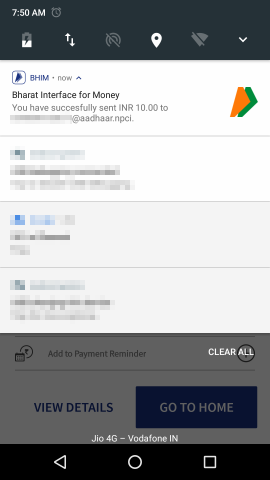
Here’s a flow showing payment to an Aadhar number.
|
|
|
|
|
|
|
You can also use the Scan feature to scan a QR code and let BHIM automatically detect the UPI ID encoded in the QR code. The steps after BHIM detects the UPI ID are the same as the steps mentioned for paying to a mobile phone. Here is what the scan screen looks like.
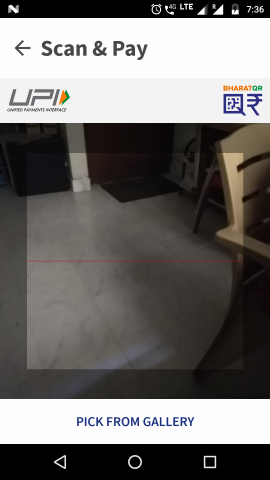
It activates your phone’s camera that you can point to a QR code. The code is scanned and the encoded UPI ID is extracted.
Receiving money
While it is a snap to send money using BHIM, it is much easier to receive money. There are only a few things you need to do to receive money.
- Link your mobile phone to your bank account. You may already have done that if you receive OTPs and notifications for transactions.
- Configure BHIM app with your phone number and bank account (Steps are described in the configuration topic above).
- Give out our UPI ID to your customers / debtors or print out your UPI ID some place where your customers see it.
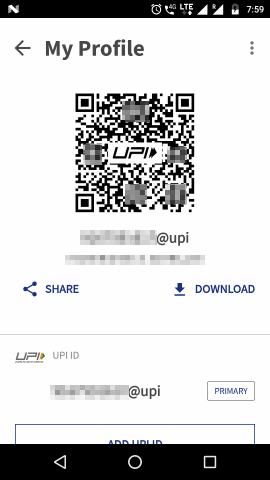
- Better yet, print the QR code of your UPI ID, so that anyone can use their UPI enabled app to scan the QR code and send payments to you without having to ask you for your UPI ID.
The Profile section in BHIM can be used to view both your UPI ID and its QR code.
Requesting money
One final feature that I’d like to touch upon in this topic is the ability to gently remind people to send you money they owe you. This can be done from a section called Request payment.
You can choose a contact or type a phone number of the person who owes you money. Your debtor gets a push notification and an SMS requesting the payment from him/her. Even if the debtor doesn’t have BHIM app installed, the SMS is sure to be received. The debtor can then use his/her BHIM app or another UPI enabled app to send you the due money.
The request feature has a field called expiry, that suggests a date upto which the debtor can respond, beyond which the request expires and another one needs to be sent. The debtor can respond to the request by accepting it and paying you or by declining it, which makes the request expire immediately.
If multiple requests either expire or are declined, then you are suggested to talk to your debtor directly and find out why the payment is not being made.
Conclusion
Before the 19th century, India had multiple kingdoms using different types of gold, silver and copper coins varying by ruler. During the British rule, a uniform coin currency and then paper currency were introduced. After independence, India was dominantly a cash economy, which it is even now. Then Internet banking, NEFT, debit cards and credit cards happened and urban India embraced them enthusiastically. But with today’s mobile phone penetration in India including in rural areas, UPI and BHIM promise to digitise money in India in a way Internet banking could not. Combine with it the ease of registration, payment, receipts and real-time transactions. One cannot ignore the convenience that UPI and BHIM promise to Indian retail commerce.
So what are you waiting for? Don’t root around for exact change. Go install BHIM today and make your payments super easy. Make your customers’s life easy too.