
We saw how to use BHIM app for payments and receipts in our last post. Today we shall see how to use India’s most popular digital payment app, i.e. PayTM. While BHIM is a link-up interface to use your bank account, PayTM has its own money wallet where one can keep money. Using that wallet is the fastest way to pay, since it uses the money stored inside and does not have to connect to any banks. Plus, there are plenty of offers, deals and cashbacks if you use PayTM to pay for several services. And the best benefit of all is that you use no cash.
What is PayTM?
PayTM is an app, started by a private company, that calls itself a mobile wallet. PayTM wallet can be used to store digital money which can be used to pay for goods and services. Think of the real world equivalent. A wallet that you keep with you. You store certain amount of cash inside the wallet and use that cash to pay for goods and services. When you run out of cash, you add more cash by withdrawing from an ATM. Similarly you can add money to your PayTM wallet through several means which we will see in a bit.
However, PayTM wallet is more interesting. There are other ways in which money gets added to your PayTM wallet. There are several deals and offers which result in money being added to your wallet. Some of these deals add money to the wallet immediately, while others can take upto 48 working hours.
To use PayTM to pay for goods and services, one can transfer from one PayTM wallet to another. Also, money inside PayTM wallet can be transferred to a bank account. But very recently, PayTM added UPI protocol to its app, so that PayTM can be directly linked to a bank account and PayTM can be used just like BHIM, but with advantages such as cashback.
Another thing to note is that PayTM started its own bank with facilities such as fixed deposits.
What we’ll cover
In this post, we will cover following things that you can do with PayTM.
- Download and install
- Register with your phone number
- Add money to your PayTM wallet
- Pay for goods and services
- Accept payments
- Add a bank account to use as UPI
Download and install
PayTM can be downloaded from here.
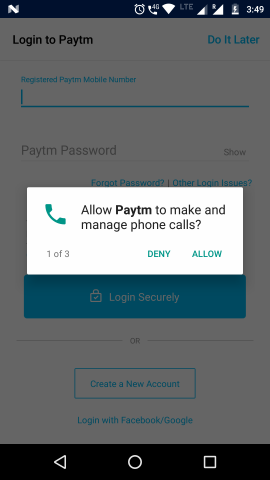
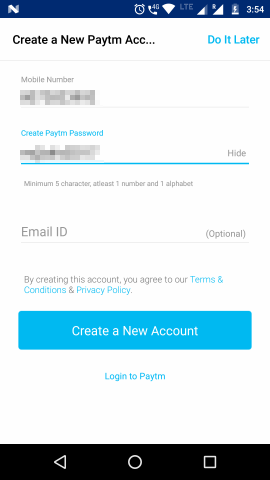
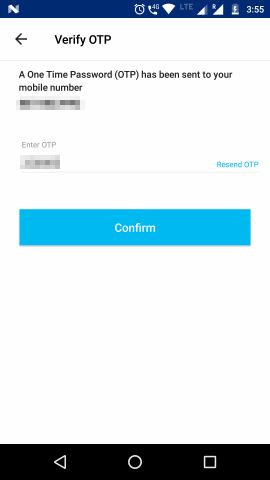
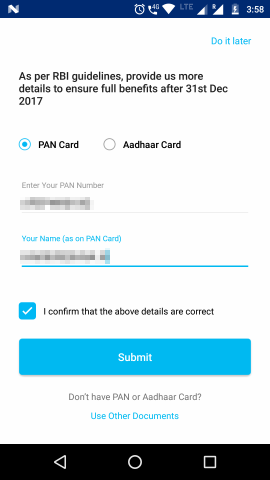
Register with your phone number
To register, you can use a combination of mobile phone number and a password. You can optionally set your email address too. The process also mandates that you enter either your PAN number or Aadhar number.
Here is a screen-by-screen flow.
|
|
|
|
|
|
|
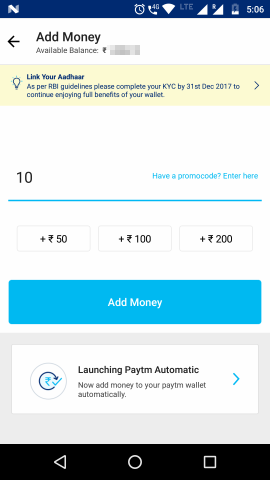
Add money to your PayTM wallet
To use PayTM without the UPI, one should first add money into the wallet. This step can be done stand-alone or at the time of purchase of goods or service. If the wallet has no or insufficient balance, the app will automatically prompt you to add money.
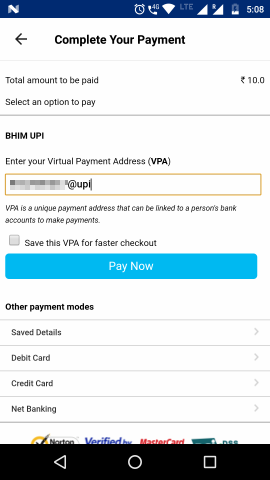
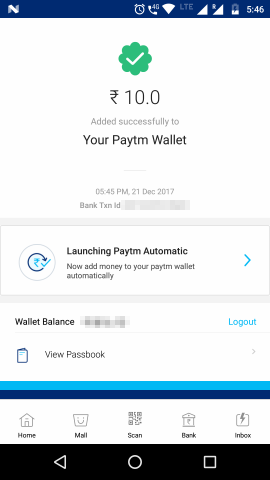
Money can be added through various channels. The most common way is to use credit cards and Netbanking. Recently, PayTM added support for adding money through any UPI app. You can select the BHIM API channel and then enter the UPI ID of the account from which you want to add money. This will cause a UPI compliant app like BHIM to open and complete adding money to your PayTM wallet.
Here is a sample flow illustrating adding money to your PayTM wallet.
|
|
|
|
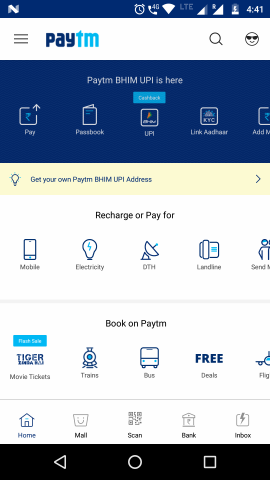
Making payments
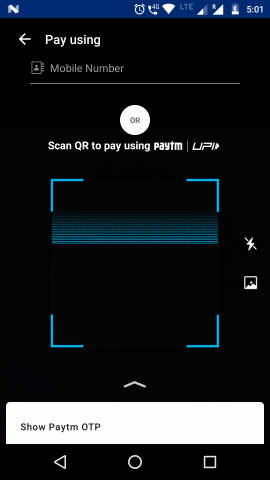
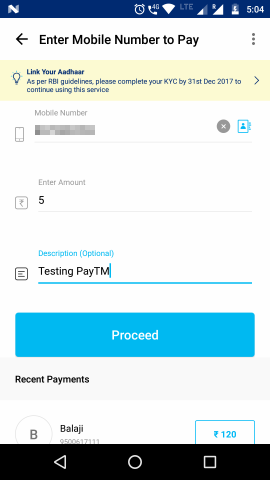
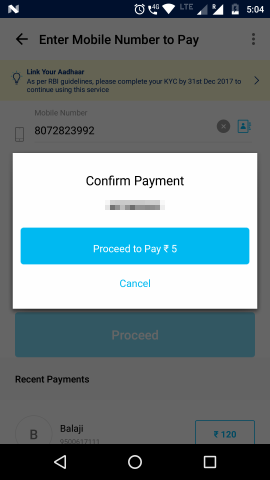
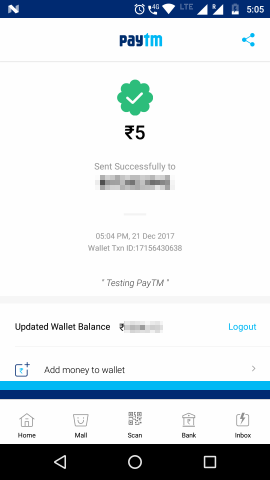
To make payments, you can use the Pay option in the main toolbar. This will open a screen with two components, one of which can be used. There is a textbox where you can enter the mobile number of the payee or choose a contact. Otherwise if the payee has made his/her QR code available, you can use the scanner. The payee’s number and name will be extracted from the QR code. After entering the amount, the money will be transfer to the Payee’s PayTM wallet. Note that if your PayTM wallet has no balance, you will first be taken through the process of adding money to your wallet. After the wallet is topped up, the amount due to the payee is immediately paid.
Here is a sample payment flow.
|
|
|
|
|
|
Receiving payments
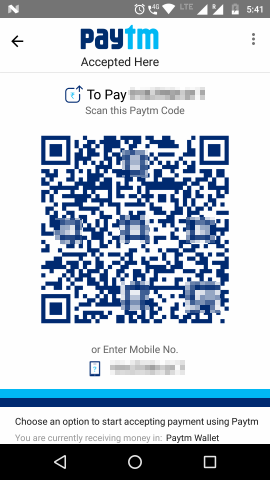
Similar to BHIM, there is a screen on PayTM that generates a QR code unique to your PayTM wallet. It is accessible from the toolbar’s Accept Payment icon. You can also give out your phone number. If someone has your phone number as part of contacts, then they can choose you. Your number will then be used. If you have a multi-SIM phone, remember to give out the number on which PayTM is registered. Once someone pays you, you will receive an SMS and a notification on the app.
Here is what the profile screen looks like.
Transfer from your wallet to a bank account
In the earlier versions of PayTM, it was easy to link your bank account with your PayTM wallet. You could then transfer money earned in your PayTM wallet directly to the linked account. However, the linking process has been removed from the app and you need to call the PayTM hotline in order to be able to facilitate the link. Some documents are also required to clear the process. For this blog, I am unable to show you examples with screenshots.
Conclusion
PayTM started as an app for recharging prepaid mobile phones without having to go to the convenience store and pay in cash. However it grew into a into a full-blown wallet and later into a small bank and a UPI-enabled money transfer facilitator. Plus it rewards you with plenty of cashbacks for using it regularly. So give PayTM a try today.